1. Install CADEditorX.
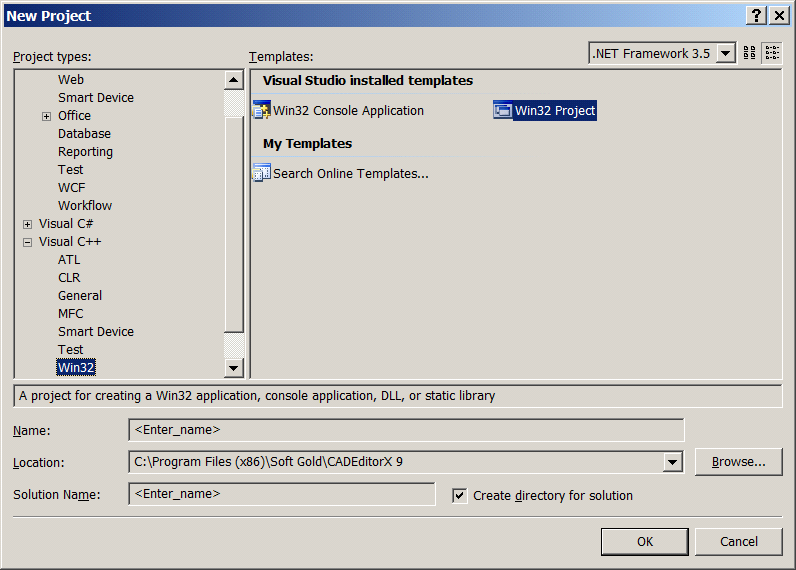
2. Go to File > New Project and select Win32 project.
3. In project settings, specify the usage of ATL.
4. Click Finish.

5. Add cadeditorx.cpp and cadeditorx.h files to the project.
Open #include "stdafx.h" and after #include <atlbase.h> add extern CComModule _Module;
#include <atlstr.h>
#include <atlwin.h> #include <atldef.h> #include <atliface.h> #include <atlcom.h> |
6. Add cadeditorx.h (#include "cadeditorx.h") to the main unit.
7. At the very beginning add the InitInstanceCAD() call in the InitInstance function.
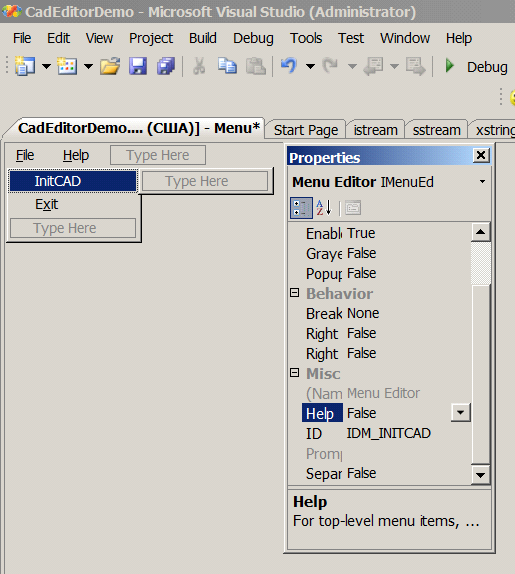
8. Add the InitCAD entry (not the main entry) to the menu and call its ID e.g. IDM_INITCAD.
9. Add IDM_INITCAD processing to the WindProc handler:
case WM_COMMAND: wmId = LOWORD(wParam); wmEvent = HIWORD(wParam); // Parse the menu selections: switch (wmId) { case IDM_INITCAD: //--------- Open(hWnd); //--------- break; case IDM_ABOUT: DialogBox(hInst, MAKEINTRESOURCE(IDD_ABOUTBOX), hWnd, About); break; case IDM_EXIT: DestroyWindow(hWnd); break; default: return DefWindowProc(hWnd, message, wParam, lParam); } break; case WM_PAINT: |
10. Run the application.
Go to CADEditorX